How to set a domain-specific spam policy? This article describes how you can create a domain-specific spam policy. At first, you need to add a domain group, then add a spam policy.
To add a domain group:
- Go to System > Inbound mail.
- Select the inbound mail domain for which you want to create the spam policy. Select its checkbox:

- Select Create Domain Group Per Domain. When the group has been added, the following message is shown:

To add a spam policy:
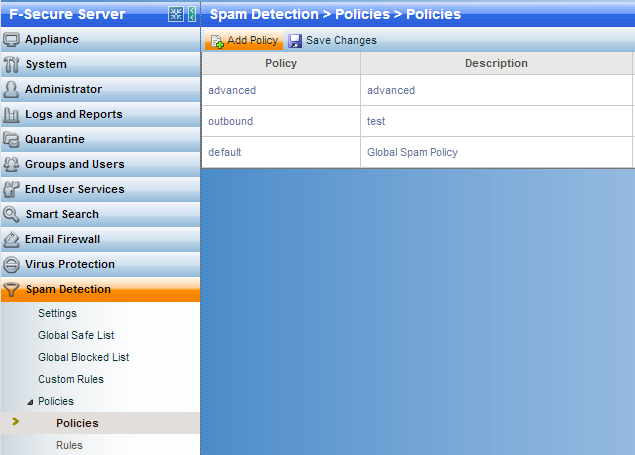
- Go to Spam Detection > Policies > Policies.
- Select Add Policy:
- Fill in the name and description for the policy settings. You can copy the settings from an existing policy, for example, from the default spam policy:
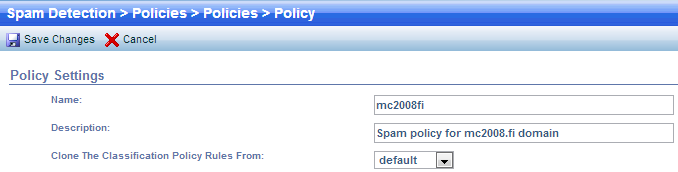
- Select Save Changes. The new spam policy should now be visible in the list.
- Uncheck End User Visible and select Save Changes:

- It's a good idea to have a separate quarantine folder for emails to a specific domain. To do this, edit a rule by selecting its Edit button:

- To create a new folder, select New Folder:

- Give a name for the folder.
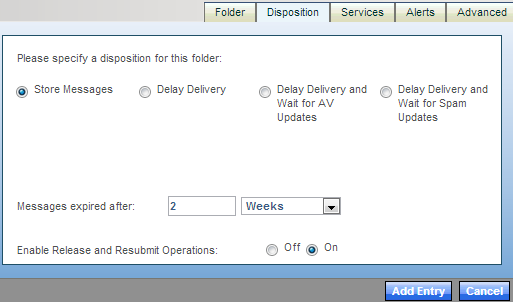
- On the Disposition tab, specify for how long the items will be kept before they'll be deleted automatically:
- On the Services tab, set Include in Digest to On:
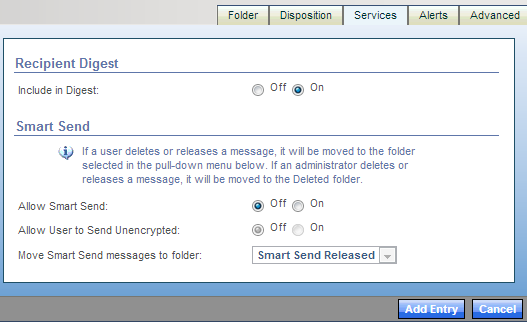
This will put the quarantined messages into the end-user digest. Save changes by selecting Add Entry. - Go to Groups and Users > Groups.
- Search for the domain group you created and click on the name to edit the properties:
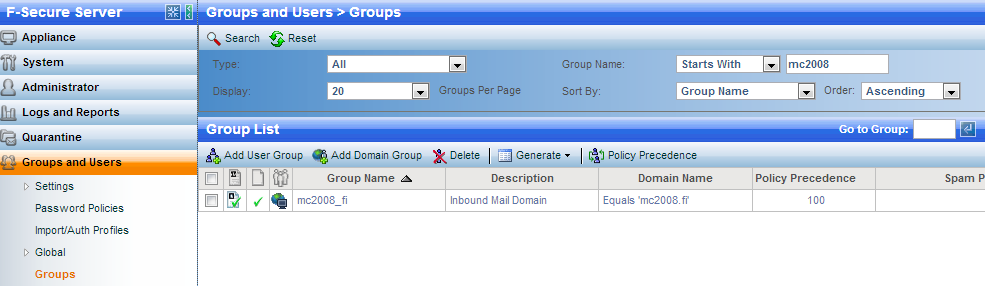
- The following window opens up:
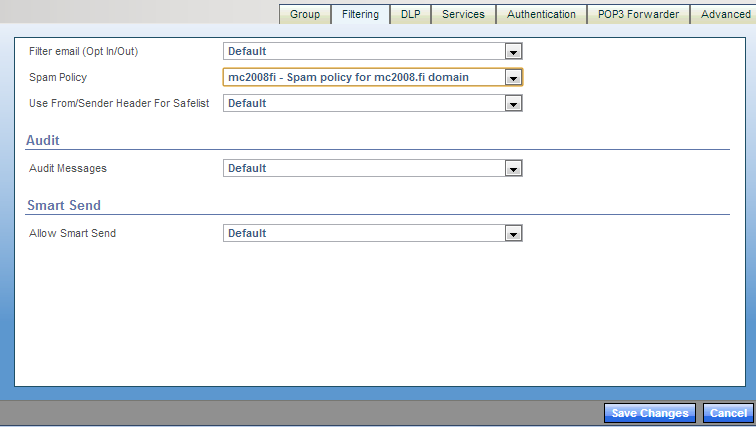
Go to the Filtering tab. Select the spam policy that you just created from the Spam Policy drop-down menu and select Save Changes. - Now the group entry should look as follows:
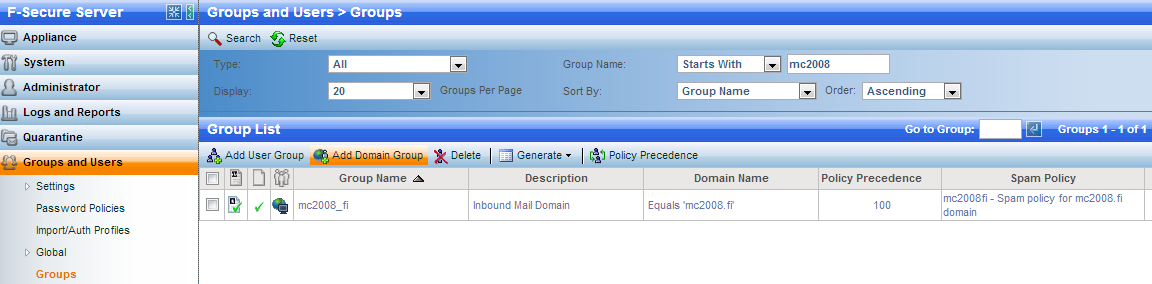
Verify that the group shows the correct spam policy.
Now this domain has its own spam policy.